Creative Tips for Keeping Kids’ Art Organized and Clutter-Free
Organizing your child’s artwork can quickly become a challenge as the masterpieces start to pile up. From finger paintings to school projects, these creations are special mementos of their growth and creativity. However, without a system in place, they can create clutter and chaos. This guide provides helpful tips to keep kids’ art organized, making it easy to store, display, and cherish every piece.
Why Organize Kids’ Art?
Before diving into organization methods, it helps to understand why keeping art organized matters:
– Preserves memories: Art pieces capture your child’s developmental stages and imagination.
– Reduces clutter: A system prevents overwhelming piles from taking over your space.
– Encourages creativity: Displaying and sorting art motivates children to create more.
– Simplifies decisions: When you have a plan, it’s easier to decide what to keep or discard.
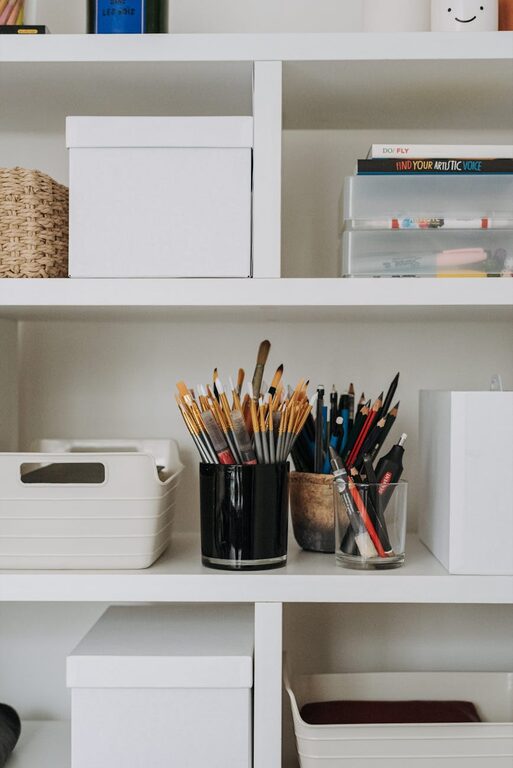
Step 1: Create a Dedicated Art Space
Having a designated spot for your child’s art supplies and creations helps keep everything in one place.
Organizing Supplies
– Use clear bins or drawer organizers for crayons, markers, and paint.
– Label containers so kids can easily find and put away supplies.
– Incorporate a small art table or desk where children can comfortably create.
Storing Finished Artwork
– Set up an “art station” nearby with storage for completed projects.
– Consider a filing box or portable portfolio case focused on art storage.
Step 2: Sort and Declutter Regularly
Not every piece needs to be saved forever. Make it a habit to sort through artwork periodically.
How to Sort
– Keep favorites: Choose meaningful pieces that highlight milestones or creativity.
– Photograph others: Take pictures of bulky or numerous projects to keep a digital archive.
– Recycle the rest: Reuse or discard less significant drawings respectfully.
Involve Your Child
Ask your child to pick their favorite works. This teaches decision-making and respect for belongings.
Step 3: Choose Effective Storage Solutions
Depending on space and volume, different storage options can work.
Flat Storage
– Use large, shallow plastic bins or art portfolios to keep drawings flat.
– Label bins by year or age for easy retrieval.
Vertical Storage
– Magazine holders or file racks can store artwork upright.
– Great for quick access and saving space on shelves.
Digital Archiving
– Scan or photograph art and store images in folders by date.
– Use apps designed for organizing children’s artwork to create digital galleries or photo books.
Step 4: Display Art Creatively
Showcasing your child’s art encourages pride and adds a personal touch to your home décor.
Rotating Gallery
– Use clipboards, frames with easy-open backs, or wire and clips for displaying art.
– Rotate the artwork regularly to keep the display fresh and exciting.
Bulletin Boards and Magnetic Walls
– Pin or magnet art on a dedicated wall or bulletin board in a playroom or kitchen.
– This keeps the collection visible and changeable.
Crafted Books and Albums
– Create scrapbooks or binders with clear sleeves to preserve and flip through artwork.
– Kids can decorate the covers and help organize pages.
Step 5: Repurpose and Gift Artwork
Transforming art into gifts or useful items gives drawings new life.
– Turn drawings into greeting cards for family and friends.
– Use artwork for wrapping paper or bookmarks.
– Laminate works to create placemats or coasters.
Final Thoughts
Keeping kids’ art organized is a manageable and rewarding task. By setting up a dedicated space, sorting regularly, and using smart storage and display ideas, you’ll safeguard those precious memories while maintaining order. Plus, involving your child nurtures their enthusiasm for creativity and responsibility. Start small, and enjoy turning your child’s artistic journey into a beautifully organized collection.